Create a Hyper-V Virtual Machine through Rapid Provisioning System (RPS)
This guide shows the process to create a new Target Item to deploy as a Hyper-V Virtual Machine.
Create a Target Item that represents the Virtual Machine
- Open a web browser to the RPS Website, for example: https://SMA.RPS.Local:8080
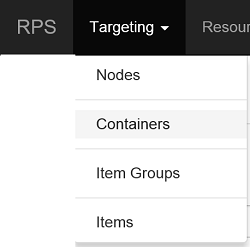
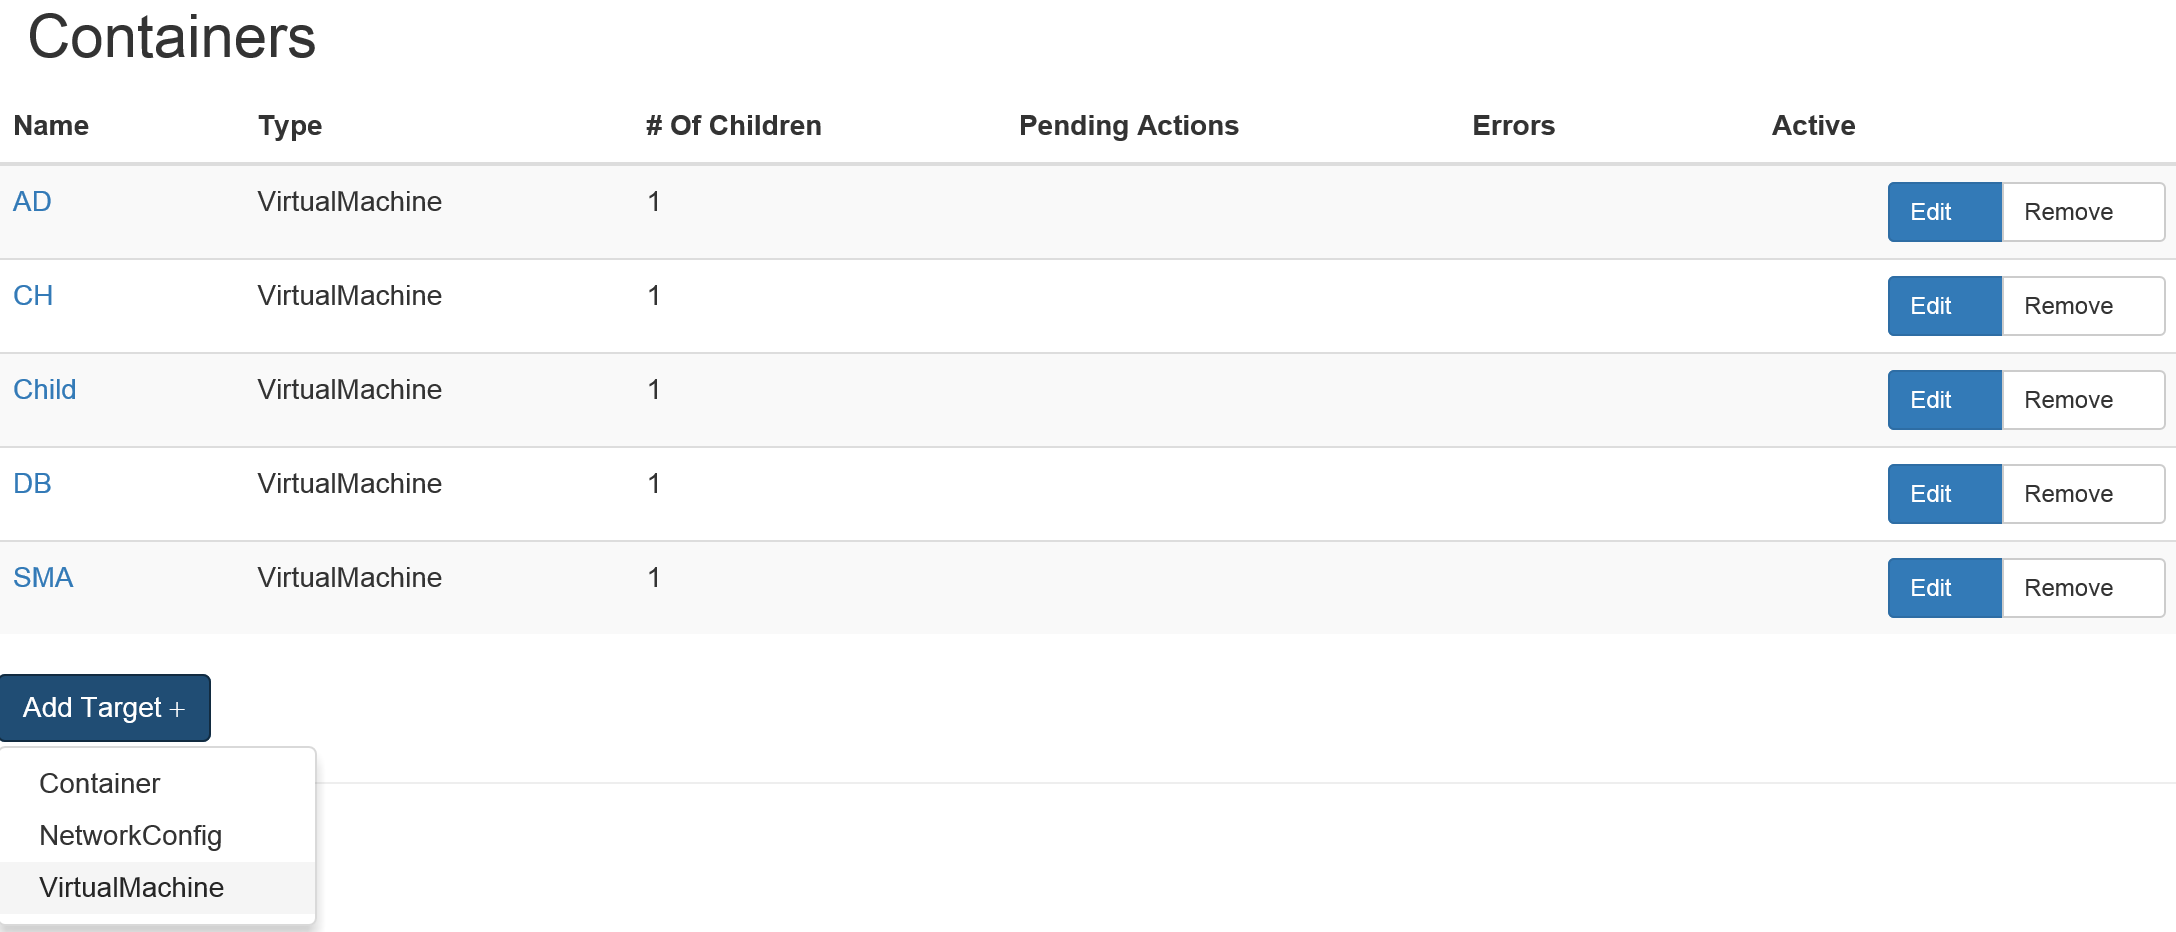
- In RPS, choose Targeting > Containers
- Choose Add Target > Virtual Machine
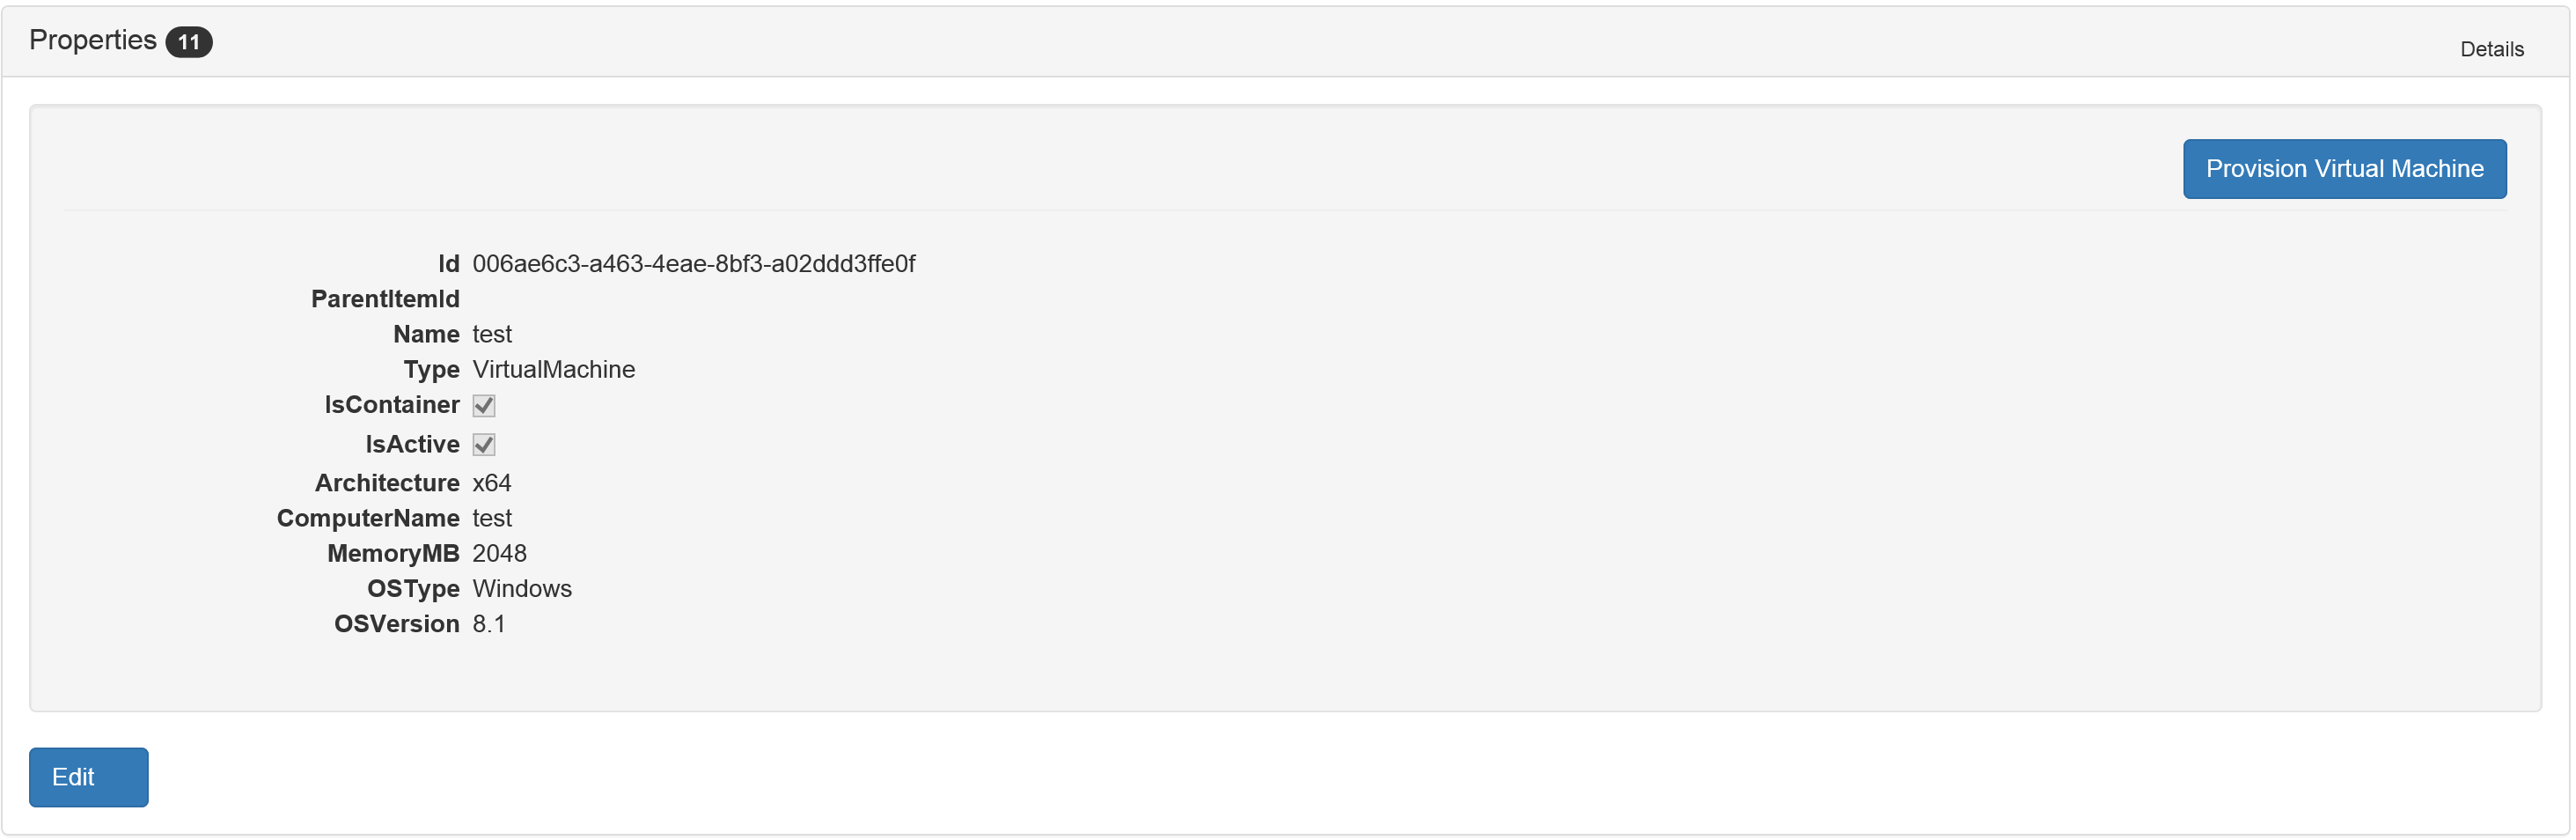
- Set the requested information, and then click Save
| Virtual Machine Settings | Descriptions |
|---|---|
| Name (Required) | The desired name to give the Target Item (Virtual Machine) in RPS |
| Type (Required) | Must be VirtualMachine. Pre-populated |
| ComputerName (Required) | The name of the computer as it is in Active Directory |
| MemoryMB (Required) | The amount of memory the machine needs in MB |
| OSType (Required) | The Virtual Machines operating system, e.g. Windows |
| OSVersion (Required) | The version on the operating system, e.g. 8.1 for Windows Server 2012 R2 |
| Architecture (Required) | The architecture of the Virtual Machine, e.g. x86, x64 |
| IsCDN | [Boolean] Set to true if this Virtual Machine will have RPS role Content Delivery Network |
| IsSMA | [Boolean] Set to true is this Virtual Machine will have RPS role Service Manager Automation (SMA) |
| IsDB | [Boolean] Set to true if this Virtual Machine will have RPS role SQL Server Database |
| IsDC | [Boolean] Set to true if this Virtual Machine will have RPS role Active Directory Domain Controller |
Note
Click Add Property to add custom fields for the Virtual Machine.
Create a child Target Item that represents the Network Configuration
- Click on the new Virtual Machine
- Under All Items, choose Add Child Target Item.

Set the requested information, then click Save.
Note
To add properties, click Add Property button. The required fields must be added to create a New Hyper-V Virtual Machine. The next update will use a template to pre-populate the fields.
| Network Configuration Settings | Descriptions |
|---|---|
| Name (Required) | The desired name to give the Network Adapter in RPS |
| Type (Required) | Must be NetworkConfiguration |
| Alias (Required) | The name of the Network Adapter on the Host you are creating the Virtual Machine |
| IpAddress (Required) | The IP Address of the Virtual Machine |
| Subnet (Required) | The subnet of the Virtual Machine |
| DnsServer (Required) | The IP Address of the DNS Server |
| MacAddress | The desired MAC Address for the Virtual Machine. If left blank, the Virtual Machine will get a dynamic MAC Address |
| DHCP | The IP Address of the DHCP server |
Note
Click Add Property to add custom fields for your Virtual Machine.
Add the Hyper-V Virtual Machine Template
- Under Resource Assignments, click Add Resource Assignment.

Click on the Resource Assignment dropdown, choose the Resource Item that represents the Virtual Machine Template. Click Save.
Note
The Resource Item will have a type of VMTemplate. If the desired Virtual Machine template is not visible, then see: New Virtual Machine Template Guide.
Add the desired Hyper-v Host
- Under Resource Assignments, click Add Resource Assignment.
Click on Resource Assignment drop down, choose the Resource Item that represents the Host. Click Save.
Note
Resource Item will have a type of Host. If you do not see the Host you want to use then you can create your own following the New Hyper-V Host Guide.
Add Local Administrator Credentials
- Under Resource Assignments, click Add Resource Assignment.
Click on Resource Assignment drop down, choose the Resource Item that represents the Local Admin Credentials. Click Save
Note
Resource Item will have a type of Credential. If you do not see the Credential you want to use then you can create your own following the New RPS Credential Guide.
Provision the Virtual Machine
Under Properties, click Provision Virtual Machine.
Note
This action creates a new Task to create the VM on the assigned Hypervisor Host. RPS will begin processing the task in the background. Refresh the view to see the status of the task.