How to Create an RPS Patch
Last updated on August 26, 2021.
Document Status: Document Feature Complete as of August 26, 2021; PENDING EXTERNAL REVIEW.
What is a Patch
An RPS Patch is what RPS calls any executable meant to be distributed via RPS to an RPS Target with the intent of managing the software on the target. A patch is a Zip archive that contains the content needed in order to manage the software, such as executables. A patch also requires a patch manifest file, which is an XML formatted text file containing required metadata. That zip archive in its entirety is what would be considered a "Patch" in terms of RPS, not the individual files inside.
How to Create a Patch Manually
It is recommended to utilize REACTR to create RPS patches. How to Create, edit, and download patches in REACTR.
To create a patch manually:
- Create a text file and name it "RPS.Package". Ensure the file format is not .txt.
- Open RPS.Package with Notepad and copy the empty Patch Manifest example in Patch Manifest Definition.
- Fill in the required fields for the patch manifest and save the RPS.Package file.
- Gather all content files needed to run on the target in order to install, upgrade, or uninstall. This must include an executable entry point such as an .exe file.
- Zip content files and RPS.Package into one archive.
- Right-click on the installer or multiple selected files to bring up the context menu
- Highlight 'Send To' context menu option
- Select 'Compressed (zipped) folder' option
- Rename the zipped archive file. The ZIP file must be named with the exact ProductName and ProductVersion values from the patch manifest file in the format "ProductNameProductVersion.zip" with no spaces in between the values. For example "Firefox70.0.zip".
Example: Creating a FireFox Install Package
Navigate to the desired directory in File Explorer, right-click, highlight New, and select Text Document. Name the file "Package.RPS". This is the patch manifest file.
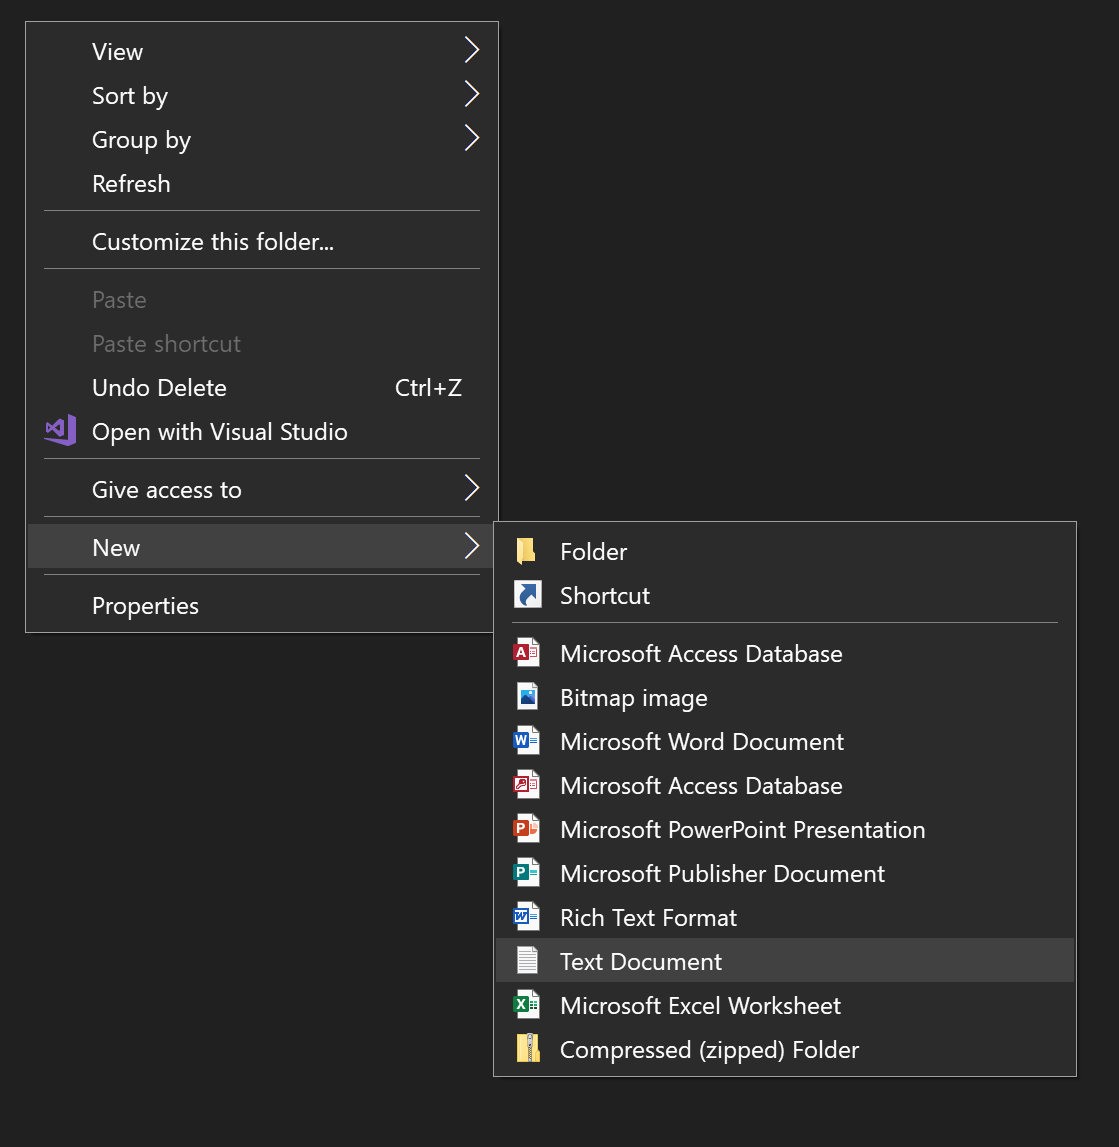 Figure 1 Create the Patch Manifest file
 Figure 2 Name the file RPS.Package
Edit the PackageManifest file and populate required fields for the Firefox version that is to be installed.
<?xml version="1.0" encoding="utf-8"?>
<PackageManifest xmlns:xsi="http://www.w3.org/2001/XMLSchema-instance" xmlns:xsd="http://www.w3.org/2001/XMLSchema" version="1.0">
<PackageName>Firefox</PackageName>
<PackageVersion>70.0.0</PackageVersion>
<Description>This is a test package</Description>
<OsVersion>*</OsVersion>
<Architecture>x64</Architecture>
<OsType>Windows</OsType>
<MsCatalogProductName>Firefox70</MsCatalogProductName>
<MsCatalogTitle />
<MsCatalogId />
<Products />
<MsCatalogUpdateId />
<PackageClassification>General</PackageClassification>
<MsCatalogSupercededByKbIds />
<MsCatalogLinkUrls />
<UninstallArguments>/s</UninstallArguments>
<InstallArguments />
<SuppressReboot>true</SuppressReboot>
<ProductName>Mozilla Firefox 70.0 (x64 en-US)</ProductName>
<ProductType>WindowsMsi</ProductType>
<ProductVersion>70.0</ProductVersion>
<ProductId>{74994757-3b19-4c54-afe4-ae84e398a3f7}</ProductId>
<InstallerFileName>firefox.msi</InstallerFileName>
</PackageManifest>
Zip the installer and any files needed for the desired Firefox version
- Right-click on the installer or multiple selected files to bring up the context menu
- Highlight 'Send To' context menu option
Select 'Compressed (zipped) folder' option
 Figure 3 Create a Compressed (zipped) folder
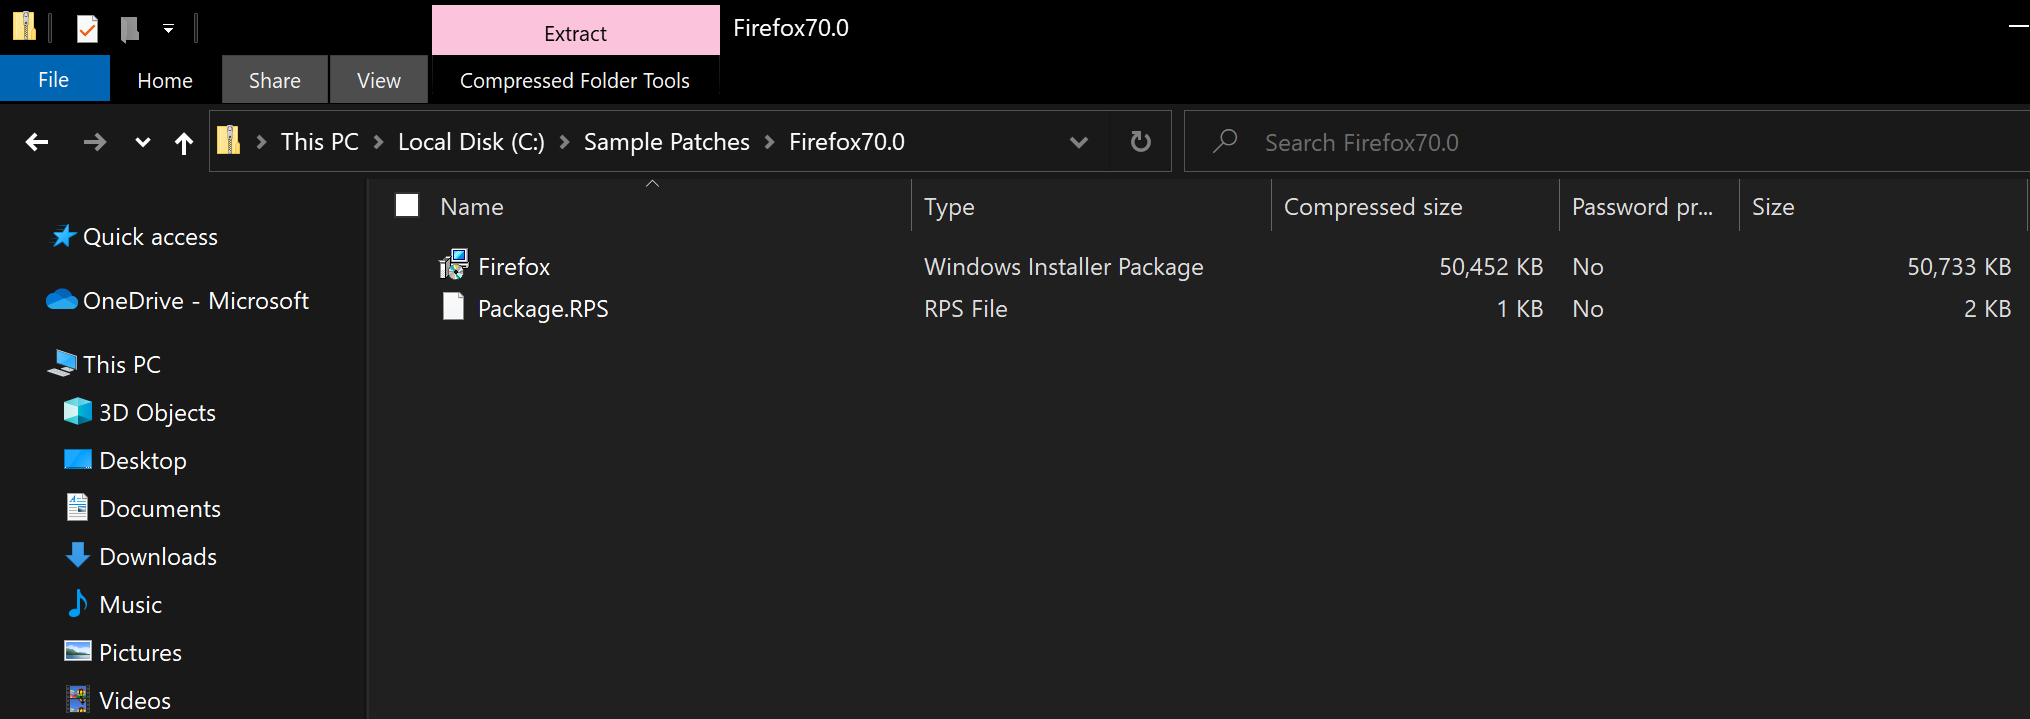 Figure 4 Firefox Patch Contents
Rename the zip file to "ProductNameProductVersion" based on the patch manifest values. For this example, the filename would be "Firefox70.0.zip".
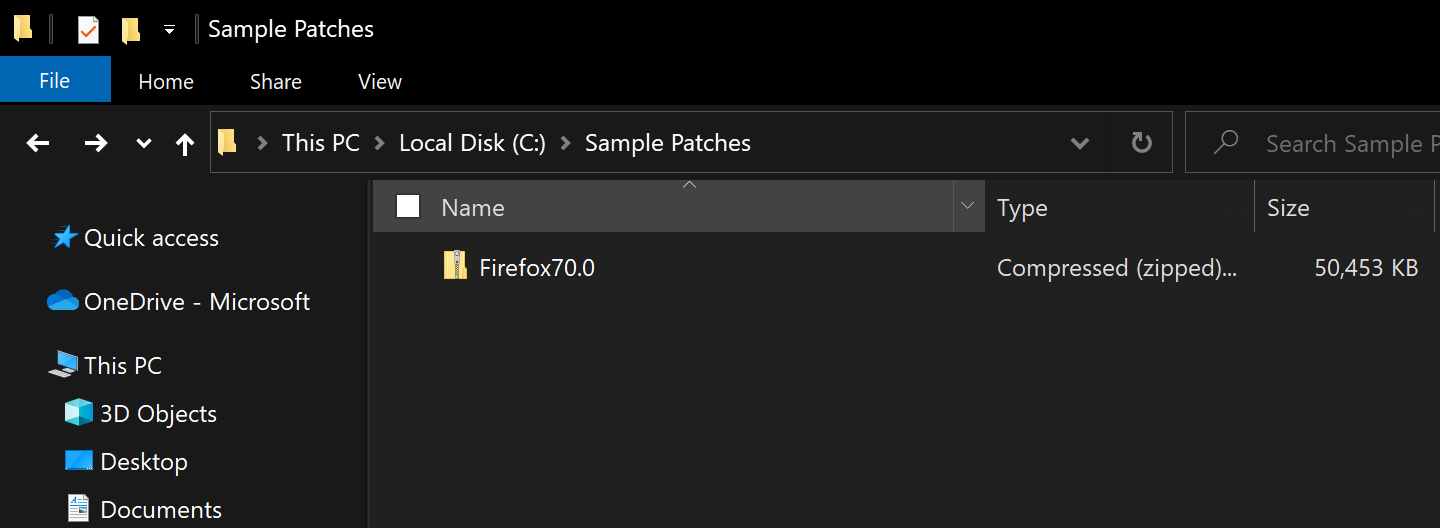 Figure 5 Firefox v70.0 Rps Patch