RPS Install Guide
Purpose
The purpose of this document is to provide an overview of the Rapid Provisioning System (RPS) Install process and detailed instructions for setting up a virtualized RPS Environment using Hyper-V.
Audience
This document is intended for anyone evaluating or testing RPS, such as IT Staff or Developers. Users should have some familiarity with core RPS Concepts as well as basic PowerShell and Windows comprehension.
System Requirements
- Windows 10/Server 2016
- PowerShell/WMF 5.1
- 16GB RAM
- 100GB HDD free-space
- Hyper-V PowerShell Module & Management Tools
Note
RPS Authored content is signed, but 3rd party code may not be. RPS Installer was tested with PowerShell Execution Policy set to RemoteSigned.
Ports and Protocols
Ports and Protocols information can be found in the Ports and Protocols Guide
Service Accounts
The following accounts are used by RPS for setup and maintenance of Nodes.
| Account (Role) | Description | Permissions |
|---|---|---|
| DomainAdmin | Create/promote a DC and manage AD Computers, Users, Groups and OUs | AD DomainAdmin* |
| ServerAdmin | Push certificates and settings, manage DSC configuration, pull files from content store | AD Account w/ Local Admin |
| LocalAdmin | Manage machine settings for non-domain joined computer | Local Admin |
Note
DomainAdmin membership is required to create a new Domain Controller. After initial creation, the account should be removed from DomainAdmins, but should still retain permissions to manage AD Users, Computers, Groups and OUs.
RPS Installation (Default)
Installing RPS requires the latest RPS release, the install media for SQL, SMA and windows features, and a Hyper-V image for the Windows 2012R2 VMs that will be created. The instructions below can be used to build a default Master RPS Node, which includes a Domain Controller (AD.Master.Rps) and an application server (App.Master.Rps). You can also choose to create a Region Node, Site Node, and an Inception Node, based on available resources.
Download Content
Before installing RPS in Hyper-V, you must download the RPS Release, static Install Media and a base image for RPS VMs.
- Download the RPS Release with media (i.e. RpsWithMedia_v2_3.zip) from the RPS Release website.
Extract RpsWithMedia_v2_3.zip to a location such as c:\RPS
Note
This location will be referred to as Install Root.
Download the Windows Server 2012R2 Hyper-V image from Windows_Server_2012_R2_VL-dev.zip.
- Extract Windows_Server_2012_R2_VL-dev.zip to a location which is NOT in Install Root. > [!NOTE] > Do not add the .vhdx file into the Install Root.
The Install Root folder should contain the following sub-directories.
- \ContentStore
- \Certificates
- \CMDB
- \Demos
- \Documents
- \DSC
- \Export
- \Images
- \iPxeDistro
- \Management
- \Modules
- \RpsBitsDownloadService
- \RpsGui
- \RpsProvisioning
- \RpsSync
- \Runbooks
- \Setup
- \SqlSecurity
- \SqlServer2012
- \SystemCenter2016
- \Utilities
- \Windowserver2012
Install RPS
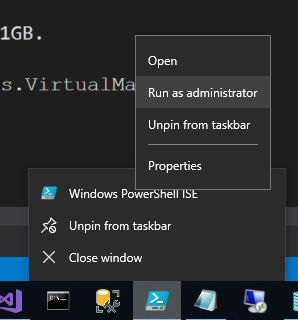
Open PowerShell as Administrator. Right-click the PowerShell Icon from Start Menu or Task Bar and select Run as administrator
Set location to Install Root\ContentStore\ by executing:
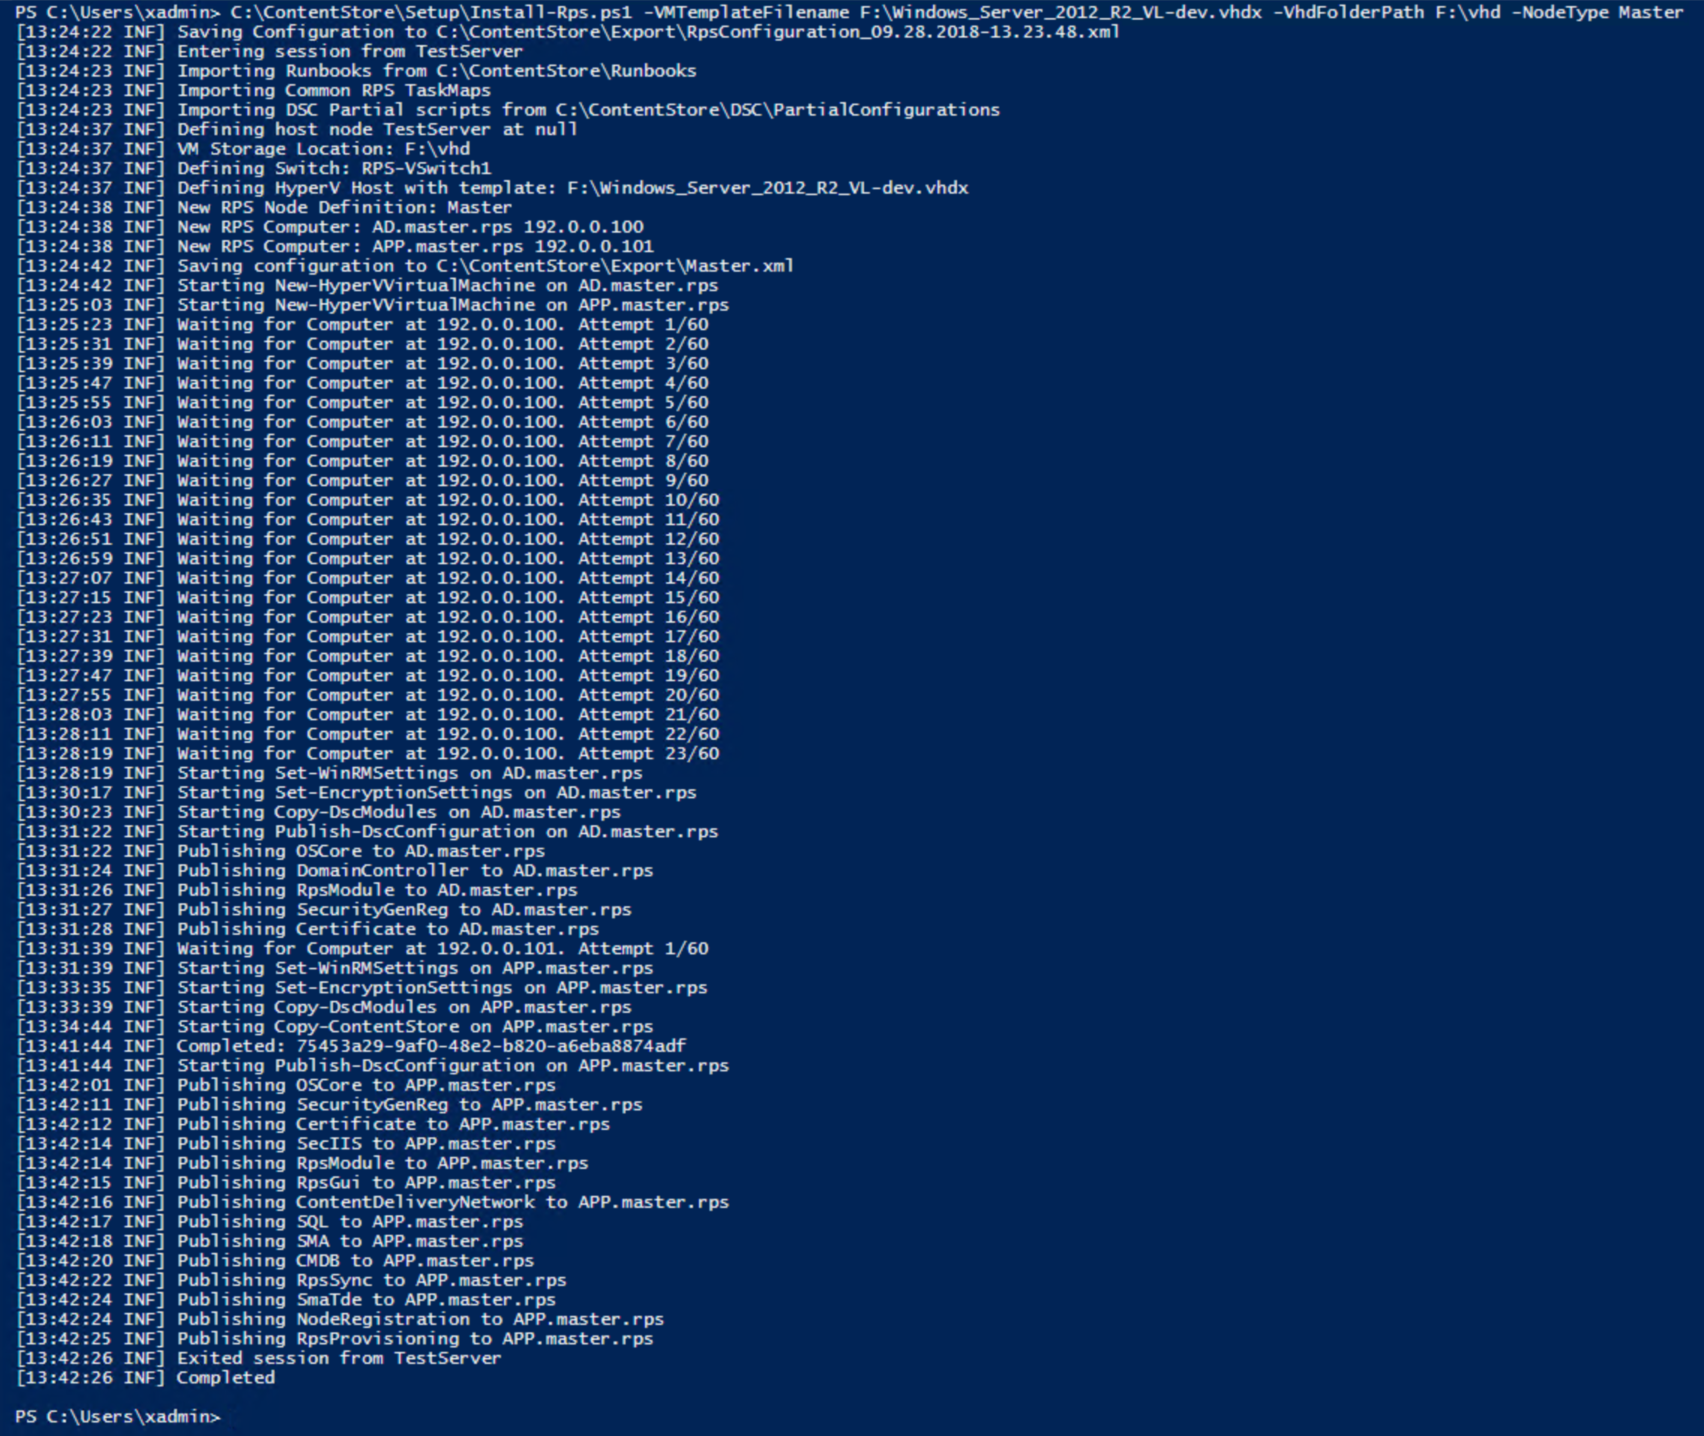
Set-Location c:\RPS\ContentStore\Install RPS and supply the location of the VM Template vhdx, the NodeType and if needed, specify specific configuration using -NodeConfigurationName. See examples below:
.\Setup\Install-Rps.ps1" -VMTemplateFilename D:\Common\Windows_Server_2012_R2_VL-dev.vhdx -NodeType 'master'.\Setup\Install-Rps.ps1 -VMTemplateFilename D:\Common\Windows_Server_2012_R2_VL-dev.vhdx -NodeConfigurationName MN -Enclave SIPR -NodeType ProvisioningNote
When using "MN" for the NodeConfigurationName, -Enclave must be specified. For further options, refer to the Install-Rps Parameter Definition table below.
Output similar to the following should appear:
Install-Rps Parameter Definitions
| Parameters | Descriptions |
|---|---|
| VMTemplateFilename (Required) | Path to the '.vhdx' file which will serve as the Hyper-V VHDX template. |
| VhdFolderPath | Path to a folder to store the .vhdx files used to create VMs. If not specified .vhdx files will be stored in same directory path as specified with VMTemplateFileName. |
| ConfigFileName | Name of file containing the RPS Configuration data. If one is not specified, it will be created in Export directory. |
| NodeType (Required) | The desired node you want to install. ( i.e. Master ), if you want to install all nodes then choose 'All' |
| SkipVMCreation | Switch to use Virtual Machines already created and configured with proper networking. |
| SkipCopyContent | Switch to not copy InstallRoot to the CDN server. ( i.e. CH ) |
| SkipDSCPrep | Switch to not setup DSC MOF Encryption, WinRM HTTPS Listener, and not copy DSC Resources. |
| ComputerName | Array of the Virtual Machines you want to install from the Node. ( i.e. @("AD.Master.Rps", "App.Master.Rps") ) |
| SkipDSCPublish | Switch to skip publishing DSC. |
| CopyCDN | Switch to copy patches that were imported into the configuration. |
| DeleteVMs | Switch to delete the VirtualMachines if they exist during a new installation. |
| SkipDscModuleCopy | Switch to not copy Dsc Required Modules to the target's PowerShell module path. |
| Esxi | Switch to indicate whether the hypervisor is Esxi (default is Hyper-V). |
| GenerateXmlOnly | Switch to make usability easier to toggle all -Skip* switches. |
| NodeConfigurationName | The name of the configuration to use for install. Choose either Rps, Lab, or MN currently defaulted to Rps. If MN is selected, the dynamic Enclave parameter must be set as well. |
| TaskMapName | Name of the desired system task map that will be assigned to the target items. Default value of Install-Rps. |
| Enclave (Dynamic) | Required if NodeConfigurationName is "MN". Valid options are "SIPR", "Colorless", and "Lab". |
Manual Node Installation/Repair
- Install-RPSNode will install the Node you specify.
| Parameters | Descriptions |
|---|---|
| NodeType (Required) | The desired node you want to install. ( i.e. Master ), if you want to install all nodes then choose 'All' |
| SkipVMCreation | Switch to use Virtual Machines already created and configured with proper networking |
| SkipCopyContent | Switch to not copy InstallRoot to the CDN server. ( i.e. CH ) |
| SkipDSCPrep | Switch to not setup DSC MOF Encryption, WinRM HTTPS Listener, and not copy DSC Resources |
| ComputerName | Array of the Virtual Machines you want to install from the Node. ( i.e. @("AD.Master.Rps", "App.Master.Rps") ) |
| SkipDSCPublish | Switch to skip publishing DSC. |
| CopyCDN | Switch to copy patches that were imported into the configuration. |
| DeleteVMs | Switch to delete the VirtualMachines if they exist during a new installation. |
| SkipDscModuleCopy | Switch to not copy Dsc Required Modules to the target's PowerShell module path. |
| ConfigFilename | Path to an existing configuration export file. ( i.e. D:\Exports\Master.xml) |
| ContentStorePath | Path to the content store. |
| TaskMapName | Name of the desired system task map that will be assigned to the target items. Default value of Install-Rps. |
Enter-RpsSession -Path "D:\Exports\Master.xml"
Install-RpsNode -NodeType "Master"
Note about SMA, Orchestrator process, and Master-Controller starting manually