RPS Provisioning
Last updated on March 28, 2022.
Last Reviewed and Approved on PENDING REVIEW
Introduction
RPS Provisioning is a service within the RDT that provides the ability to provision and configure Nodes through use of the Task Management Service (TMS).
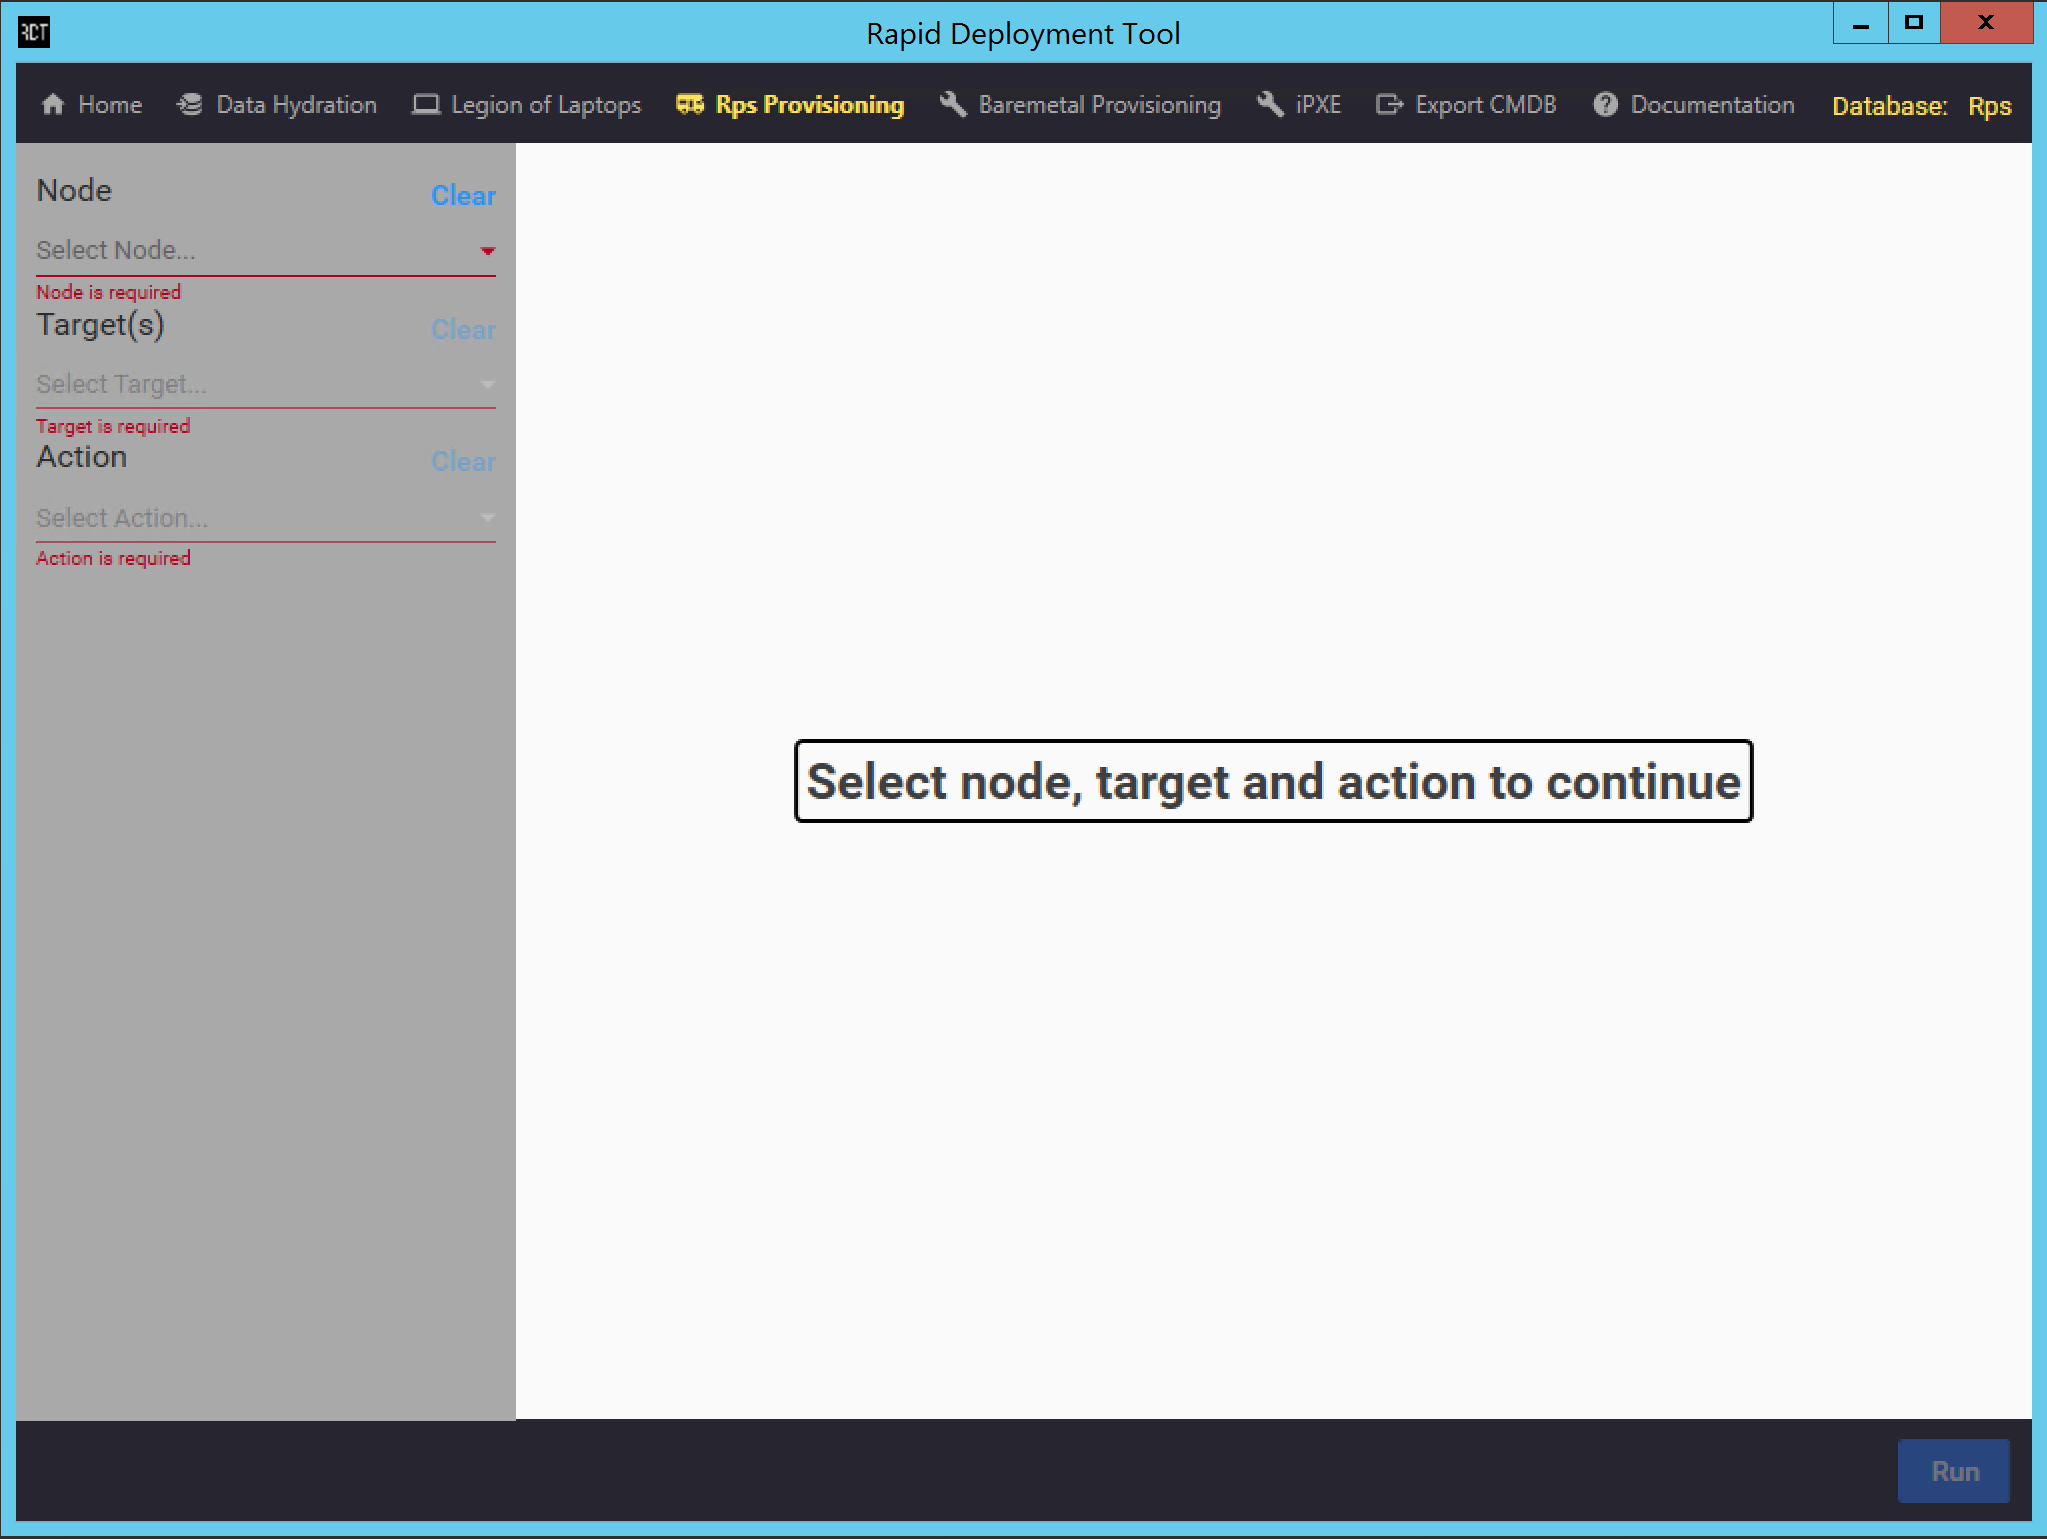
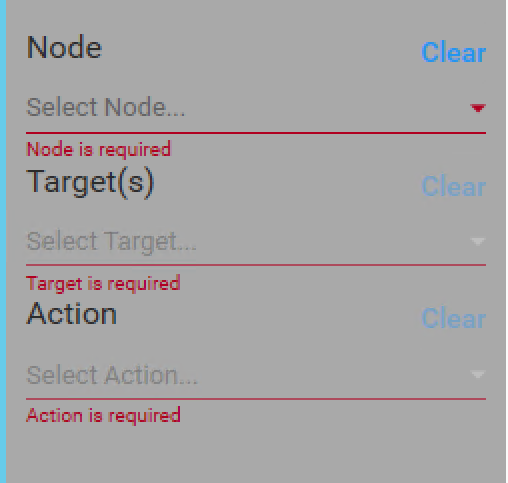
Figure 1: This is the view the user sees when navigating to the RPS Provisioning page.
The provisioning process consists of running through a sequence of Steps which are defined when the user selects an Action from the dropdown. Each provisioning Step corresponds to a TaskMap assigned to the selected top level target and its children. When the provisioning process is started, the TaskItems for each generated TaskAssignment are executed by TMS.
The functionality of RPS Provisioning can also be achieved through existing PowerShell cmdlets.
Please refer to the RPS Tasking Guide for more information on the aforementioned PowerShell cmdlets and tasking.
Configuration
The options available in the Action dropdown menu in RPS Provisioning are defined via a configuration file named RDTActions.json. This file can be found at the following relative path for the RDT executable: "..\resources\bin\Config\RDTActions.json".
The following snippet is an example of an RDTActions.json configuration for RPS Provisioning which contains a single Action called "Install-Rps"; however, a configuration file may contain multiple Actions.
[
    {
        "Name": "Install-Rps",
        "Steps": [
            {
                "DisplayName": "Install",
                "TaskMapName": "Install-Rps"
            }
        ]
    }
]
An Action may contain multiple Steps; however, in the example above, only one Step is defined. The "DisplayName" property is used to reference the Step in the UI. The "TaskMapName" property is used to associate the Step with a particular TaskMap.
Figure 2: The RDTActions.json file is used to populate the dropdown for the Action input seen in this example. Users may select which Action they would like to execute.
Users may add or remove an Action from the configuration by editing the RDTActions.json file.
Validation
The RDTActionsSchema.json file is used to validate the RDTActions.json file and initiates upon navigating to the RPS Provisioning page. The RDTActionsSchema.json file can be found at the following relative path for the RDT executable : "..\resources\bin\Config\Schemas\RDTActionsSchema.json".
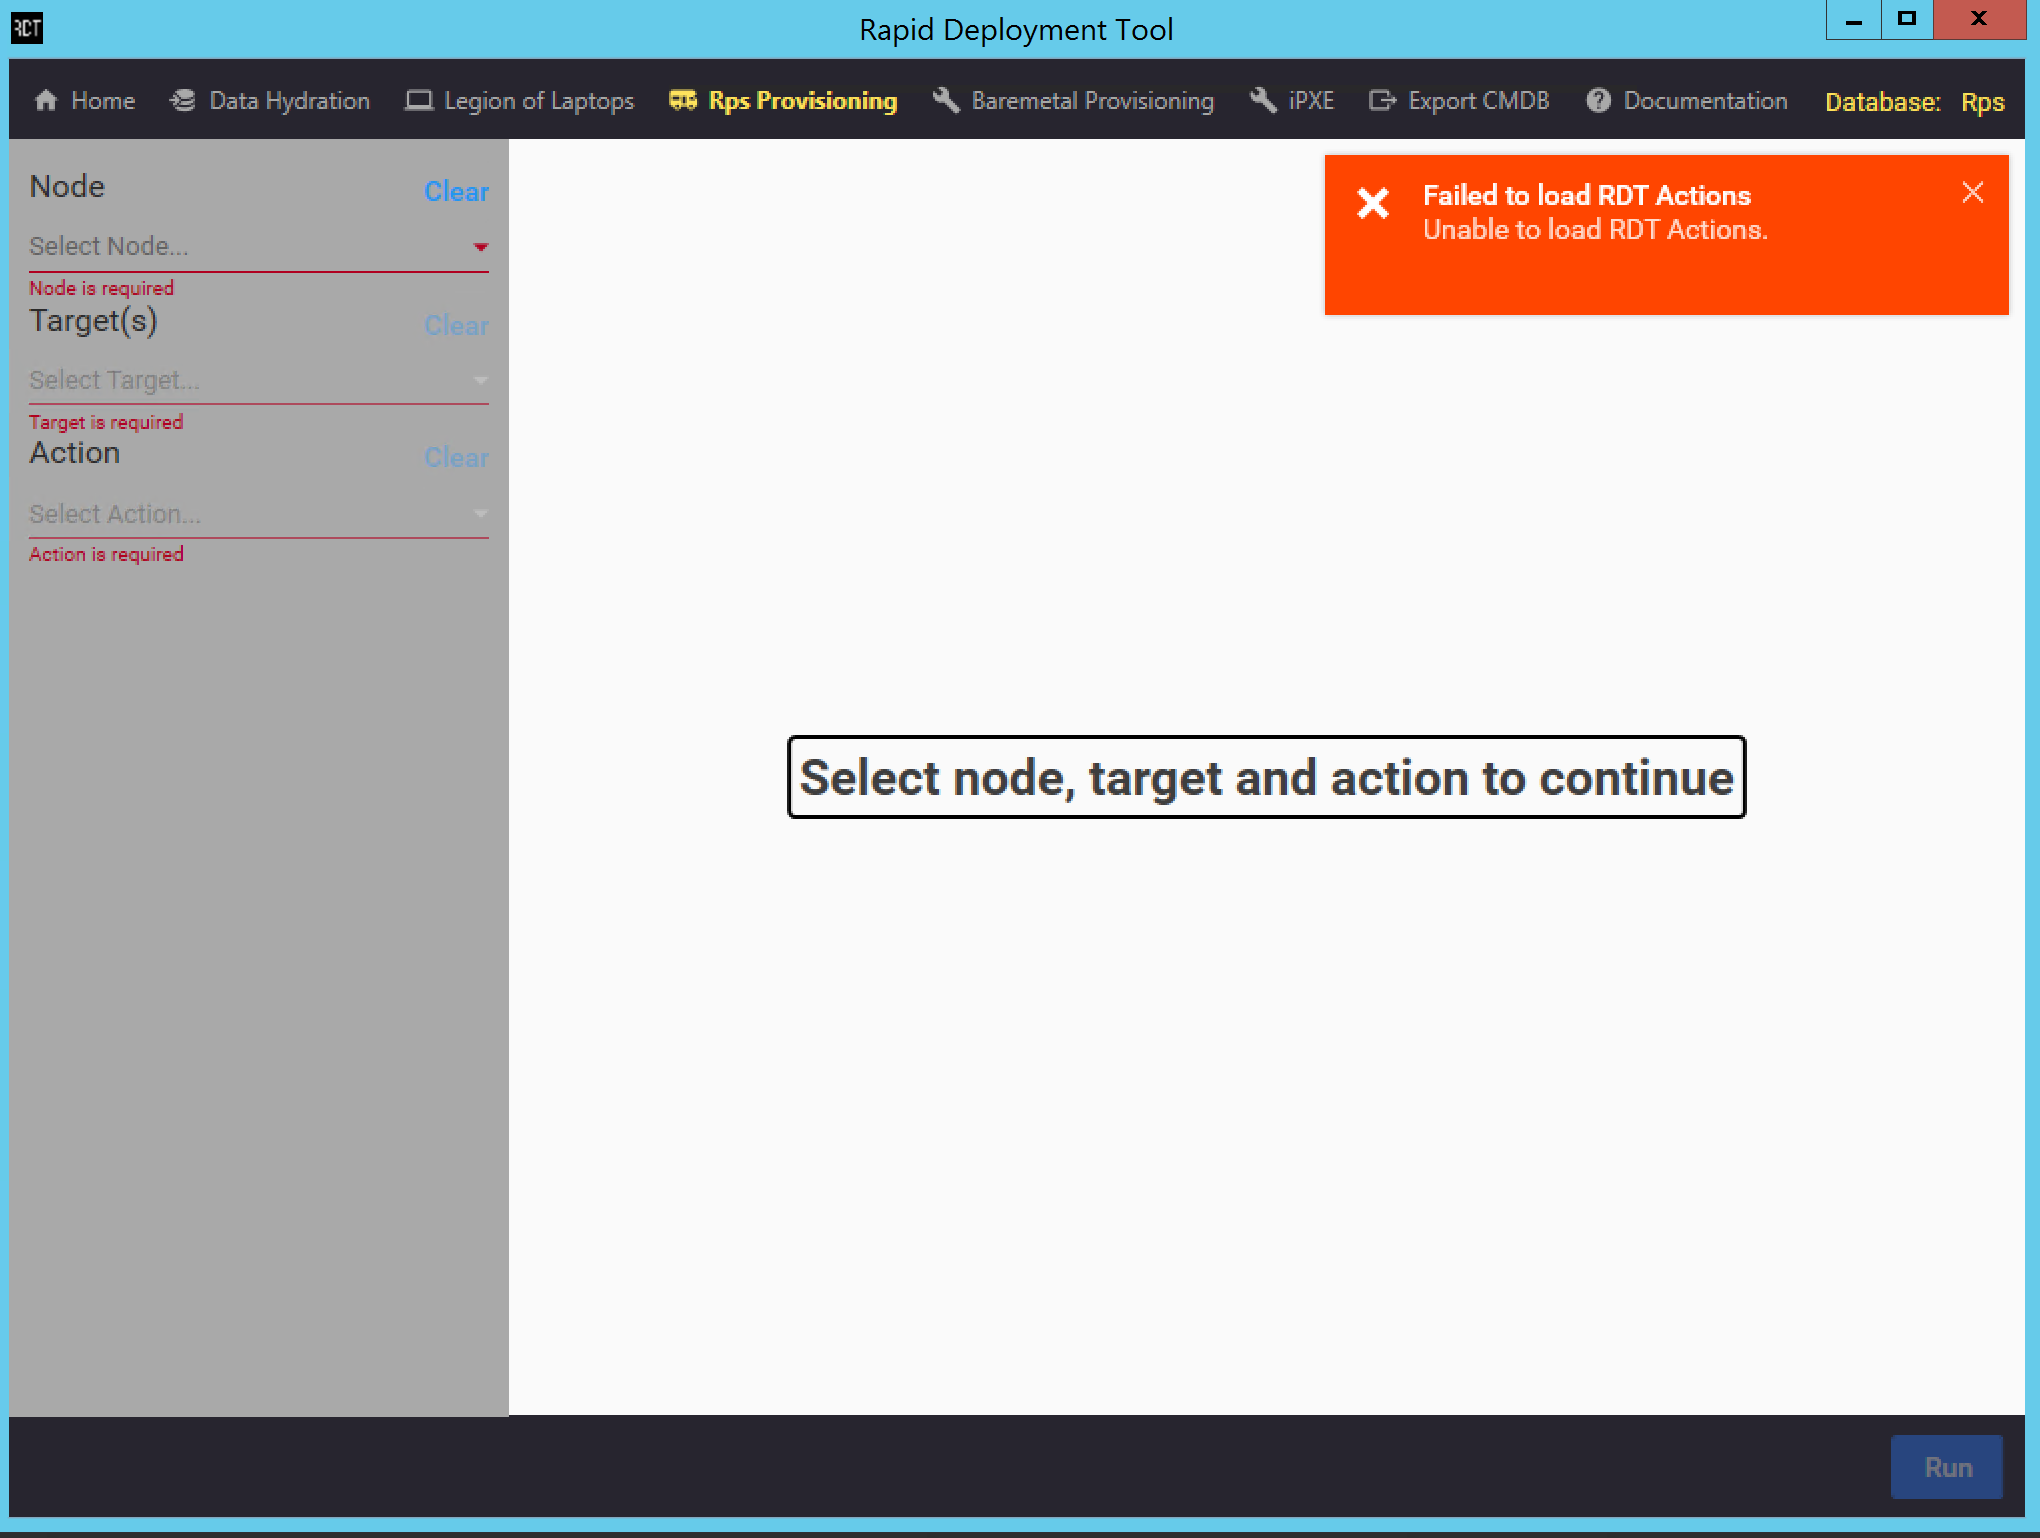
If validation fails, users sees a red error box in the top right-hand corner of the RDT window, as seen in the following figure:
Figure 3: Example showing failed validation error message.
The following snippet is an example of an RDTActionsSchema.json file used for validation:
{
  "type": "array",
  "uniqueItems": true,
  "minItems": 1,
  "items": {
    "type": "object",
    "properties": {
      "Name": {
        "type": "string"
      },
      "Steps": {
        "type": "array",
        "minItems": 1,
        "uniqueItems": true,
        "items": {
          "type": "object",
          "properties": {
            "DisplayName": {
              "type": "string"
            },
            "TaskMapName": {
              "type": "string"
            }
          },
          "required": [
            "DisplayName",
            "TaskMapName"
          ],
          "additionalProperties": false
        }
      }
    },
    "required": [
      "Name",
      "Steps"
    ],
    "additionalProperties": false
  }
}
Based on the above schema, the RDTActions.json file may contain the following fields:
- An array of Actions to be presented within the Action dropdown on the RPS Provisioning screen.
Each entry in this array corresponds to a single Action in the dropdown.
At a minimum, one Action must be provided. Additionally, each Action must be unique.
- Name: The name of the Action. Type is a string. This field is required.
- Steps: The array of Steps for the Action. Must have at least a single Step.
Each Step in the array must be unique. The properties listed below are the only valid values in each object of this array.
This field is required.
- DisplayName: The name to display in the UI for the Step. Type is a string. This field is required.
- TaskMapName: The name of the TaskMap for this Step. Type is a string. This field is required.
Additional properties are not allowed anywhere in the RDTActions.json file based on the schema.
Usage
To use the Provisioning service, users must select an item from the Node, Target(s), and Action dropdown fields. The fields must be populated in order, beginning with Node and ending with Action. The Node field dictates which targets are available to provision.
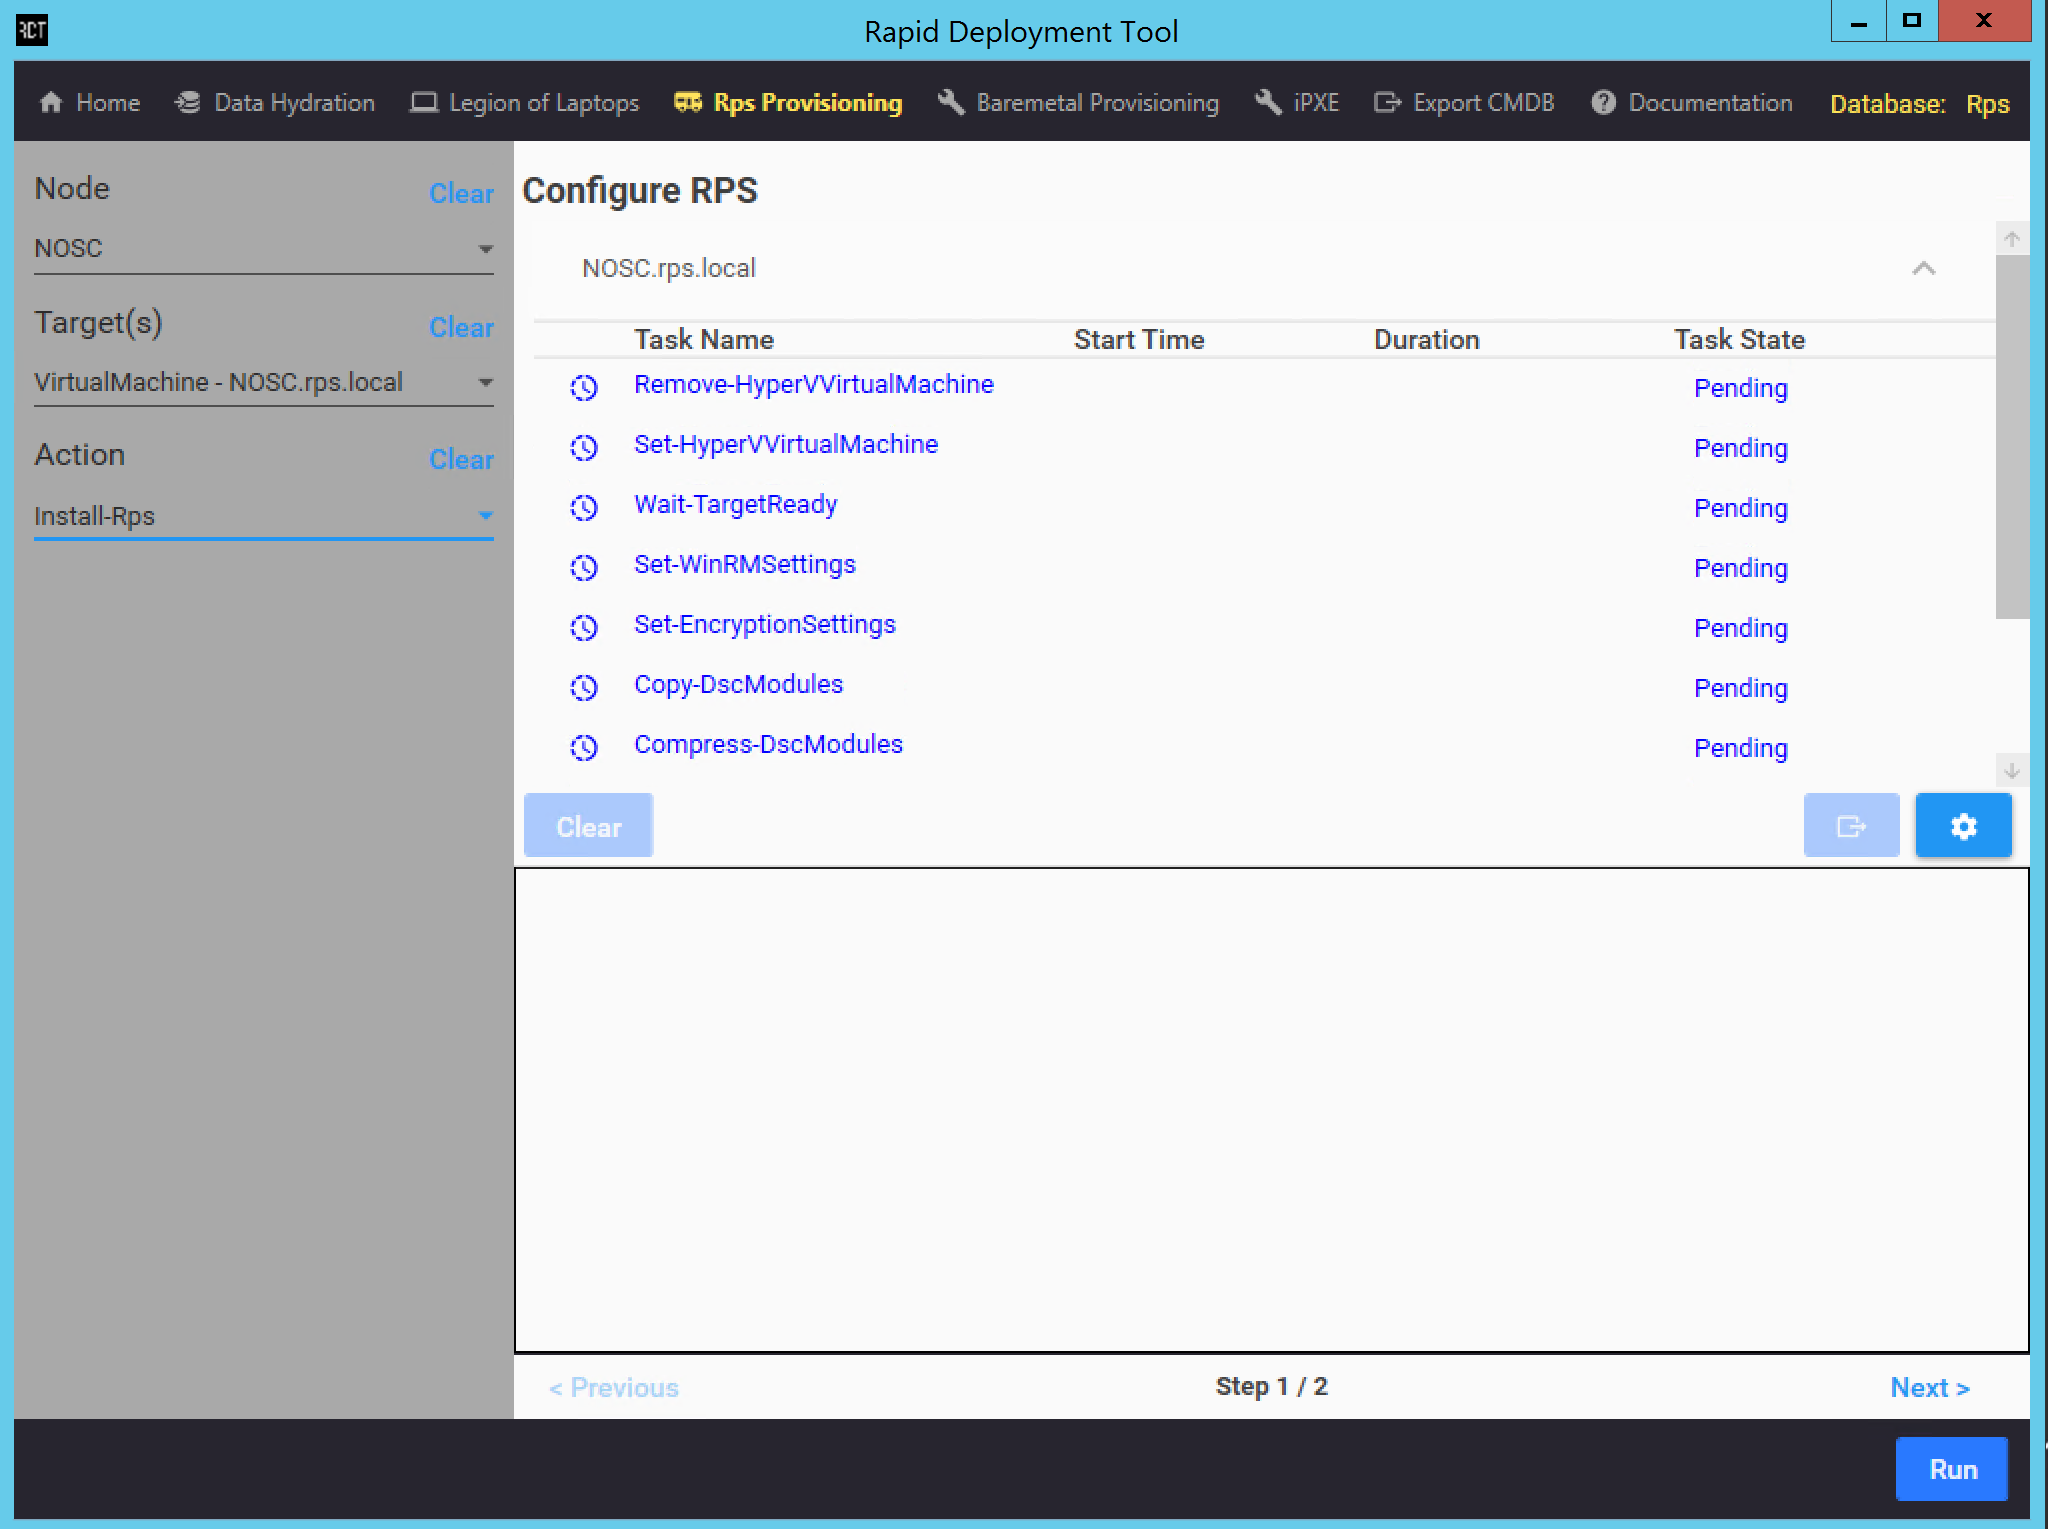
When the Action field is populated, the user will be shown a preview of TaskAssignments that will execute when the RDT Tool is run. After all three fields are populated, the Run button will be made available in the bottom right-hand corner.
Figure 4: Example of the preview that users will see after populating the Action field.
The Steps for the selected Action are shown at the top of the page above the header Tasks. In this example there is only one Step, "Install", as indicated by the blue bubble. Executions requiring multiple Steps will be listed sequentially from left to right.
The items listed as Tasks are also ordered sequentially and are based on the TaskMap associated with the current Step. Each Task can be clicked on to view which Targets have an assignment. Please visit RPS Task Assignment Diagram for more information on how TaskAssignments are made.
When the Run button is clicked, the assignments shown in the preview window will be executed by TMS. The icon to the right of each Task indicates its current status and will automatically update progress as each Task completes. The following list defines the corresponding Task statuses for each icon:
Not Ready, Ready, Pending, Assigned
Running
![]() Retry
Retry
ErrorContinue, PendingUserAction, Warning, Removed
Canceled, ErrorStop
Completed
![]() Questions
Questions
Note
Only the icon will be displayed in RDT; however, the specific statuses listed above can been seen if the TaskAssignments are queried via PowerShell.
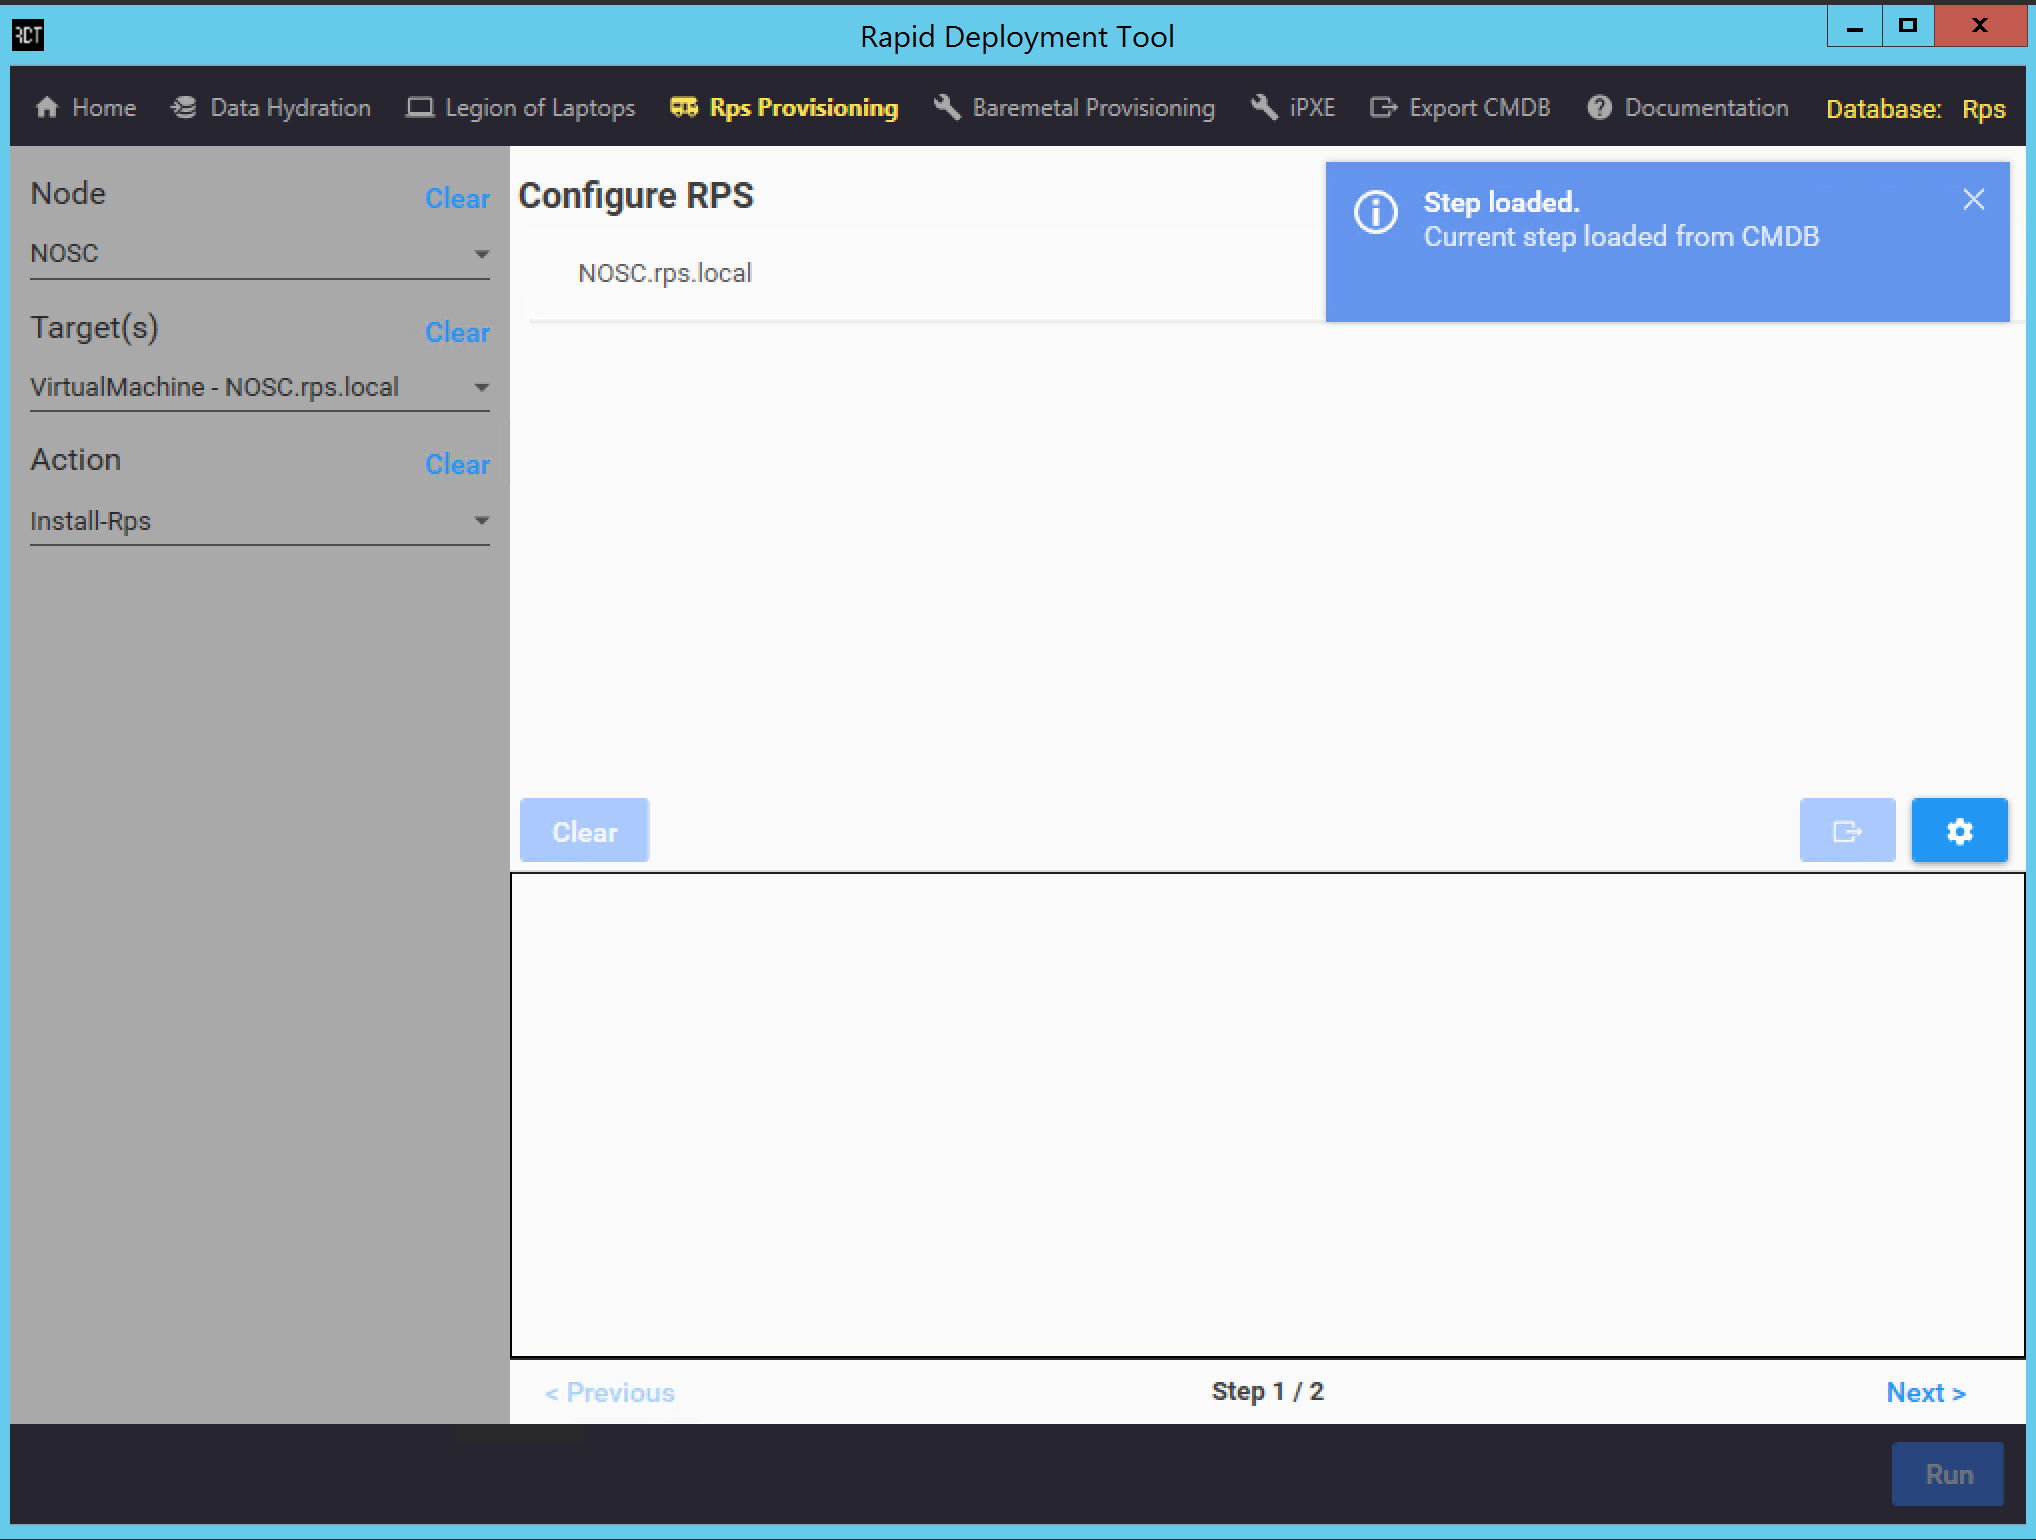
The status for each Task is refreshed every 3 seconds. Additionally, if a user briefly navigates away from this page and then returns, the existing Tasks will be loaded from the CMDB if the same inputs are selected. In this situation, the Run button would remain disabled since the assignments have already been created and executed by TMS. The user would also be notified via a toast (pop-up) notification that the current Step was loaded from the CMDB.
Figure 5: Example of a toast (pop-up) notification for an existing assignment.
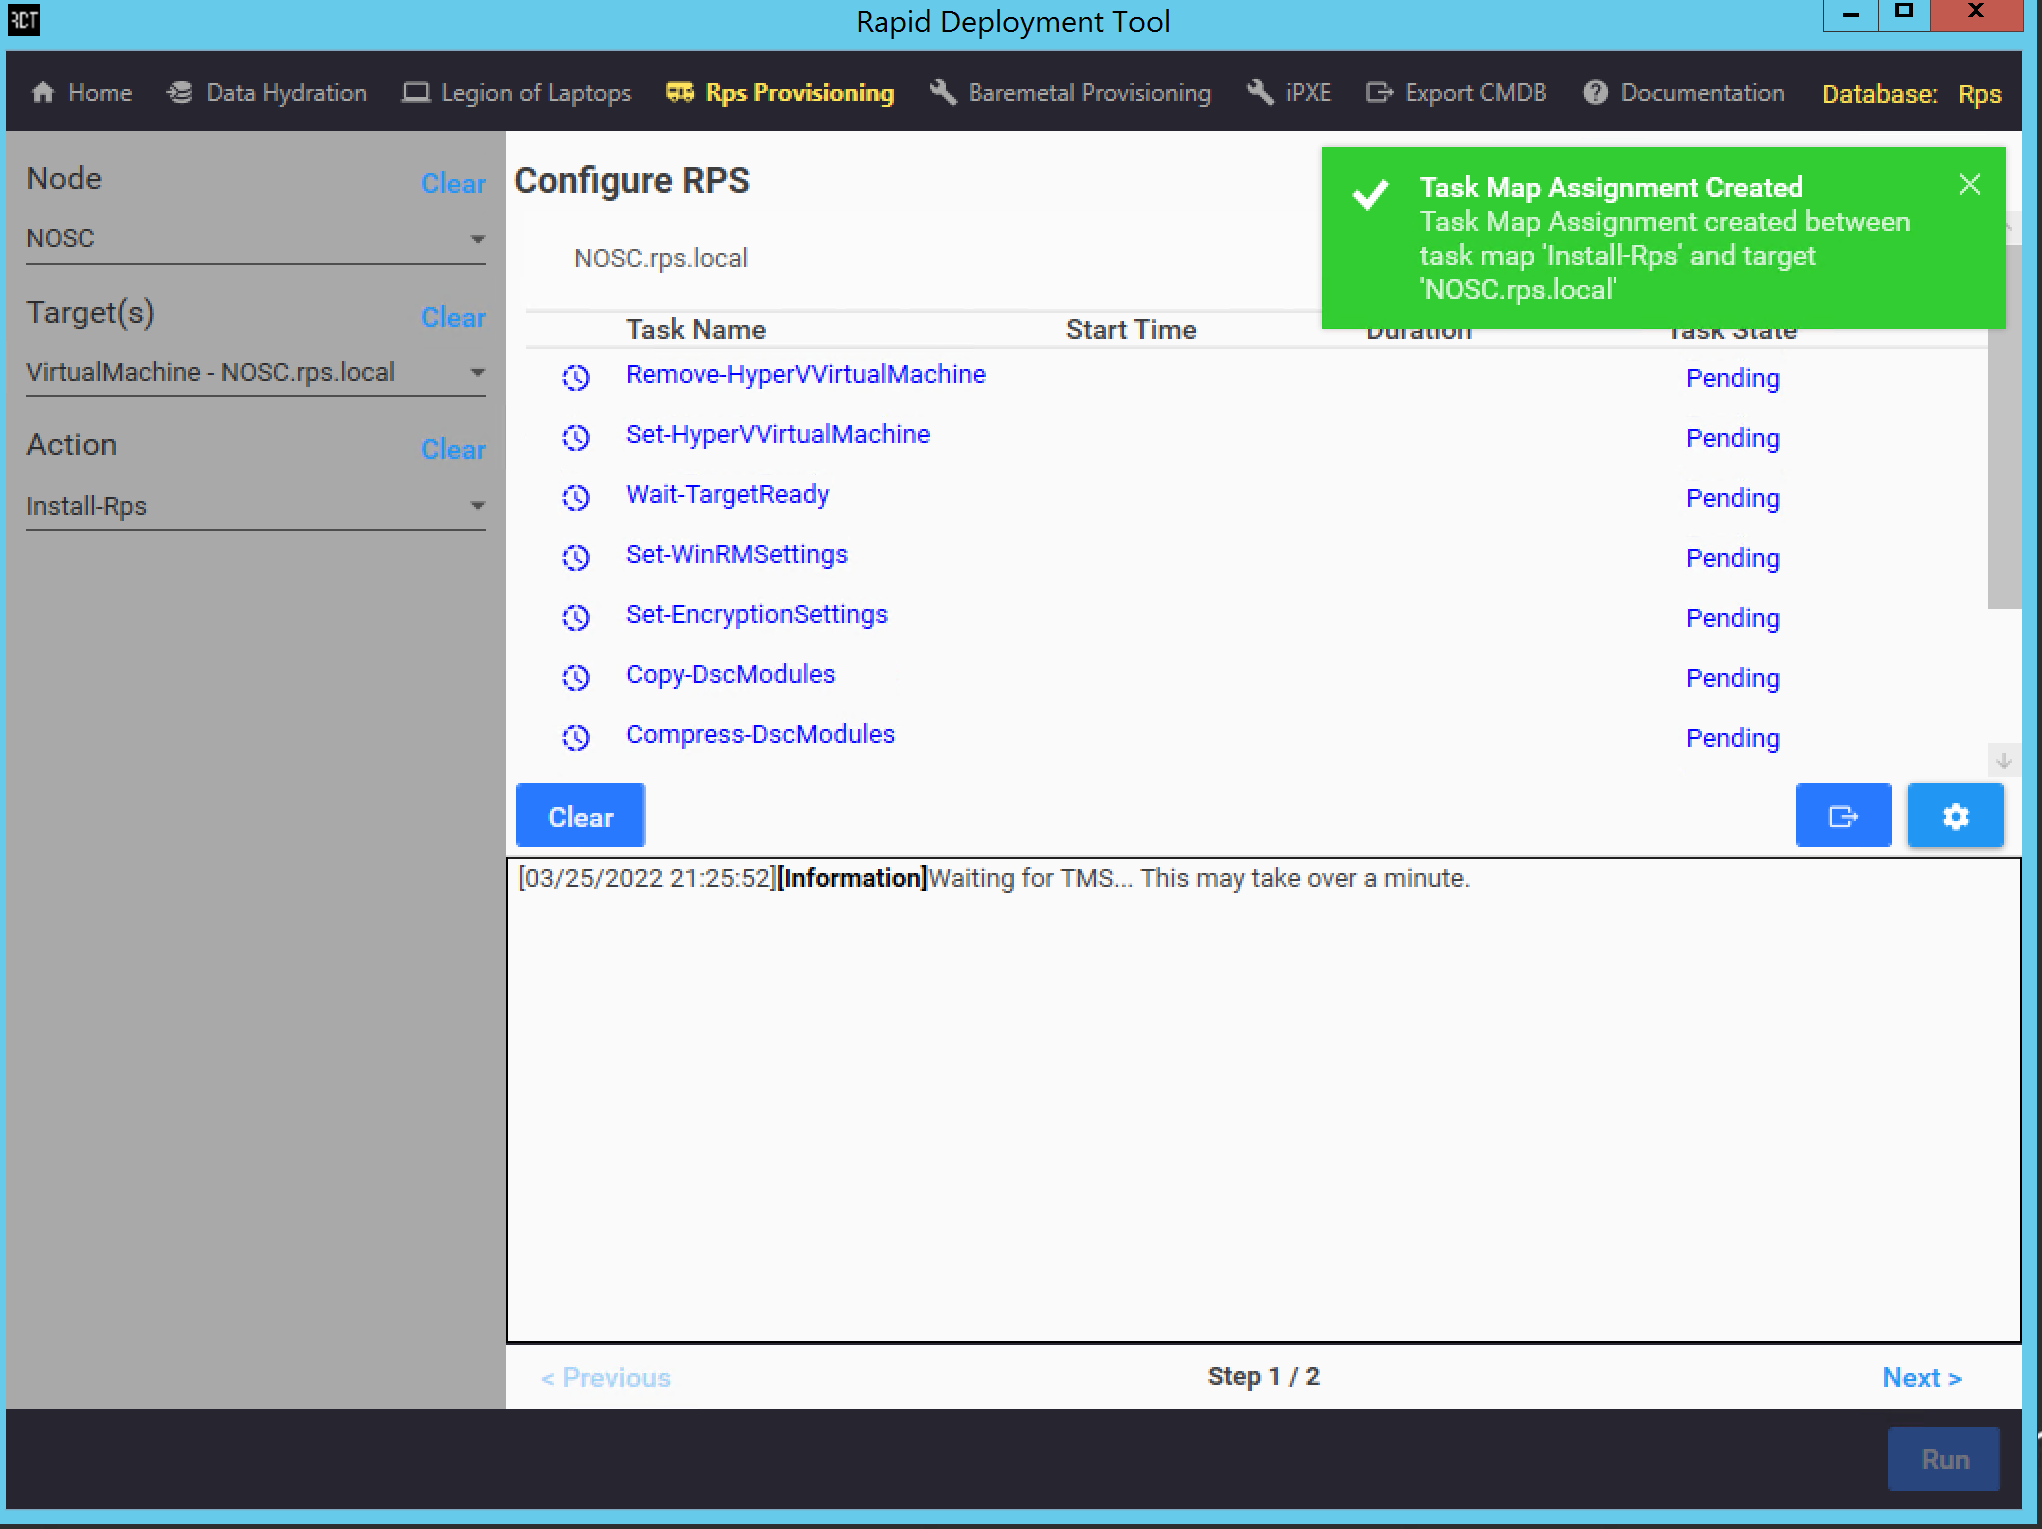
Users may also track RPS Provisioning status and learn more detailed information through the logs displayed in the Console Logs box. Users may also navigate between Steps, to view their corresponding Tasks and statuses, by clicking the Previous and Next buttons below the console.
Figure 6: Example of a provisioning process that has been started, and is waiting on TMS.
The Live button, seen just above the Console Logs box, allows users to toggle "live scrolling" of the console messages on or off.
Possible Outcomes
RPS Provisioning will complete once TMS has executed all of the Tasks within each Step. The following statuses indicate that the Task has been executed:
Completed
ErrorContinue
Canceled, ErrorStop
Any other status than listed above indicates that the Task has not yet been run. Once all Tasks have been executed, the Run button will become enabled again, which signifies that the provisioning process has completed.
To confirm successful completion, expand and examine each Task status, and review the console logs.
